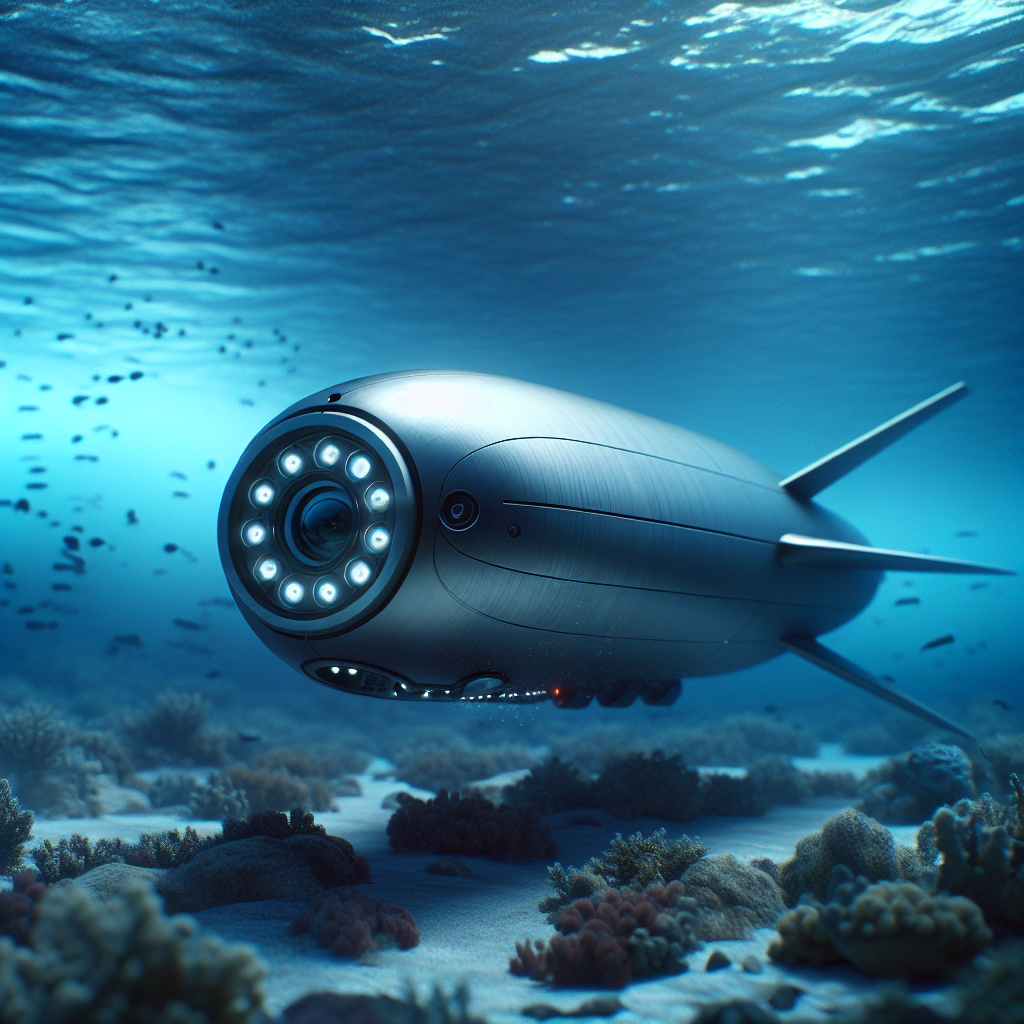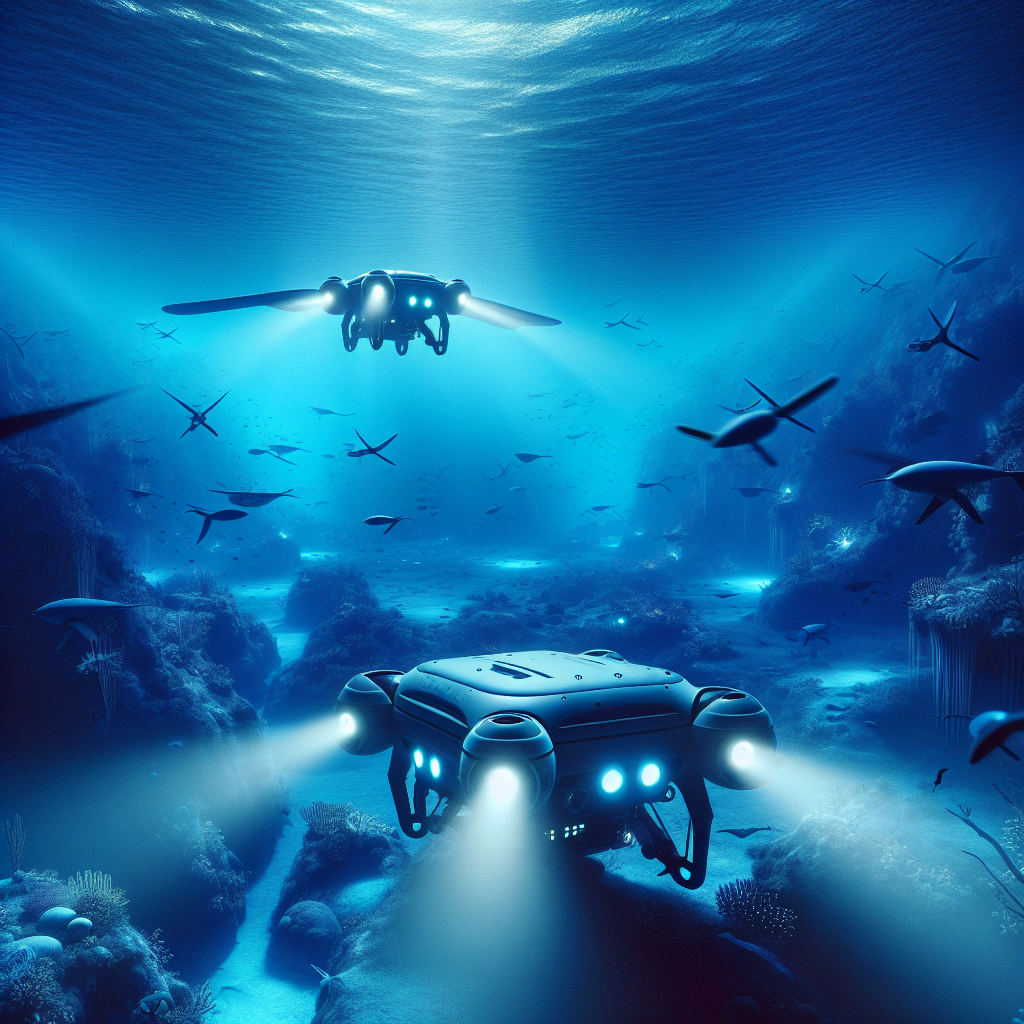
Embarking on the journey of building your very own underwater drone is like unlocking a hidden treasure trove of the deep blue sea. It’s a venture that combines the thrill of discovery with the satisfaction of creating something functional and fun. But before we dive into the nuts and bolts, let’s get a clear picture of what you’ll be able to achieve with your DIY underwater drone.
Key Takeaways
- Understand the essential components of an underwater drone: waterproof housing, propulsion system, control system, camera, and lighting.
- Gather the right tools and materials for the job, including a microcontroller, waterproof camera, and LED lights.
- Follow a step-by-step guide to design, assemble, and test your underwater drone.
- Learn important safety precautions to protect your drone and the environment.
- Discover the exciting applications of your underwater drone, from marine research to personal exploration.
Dive into DIY: Crafting Your Underwater Explorer
Building an underwater drone is not just a project; it’s an adventure into the unknown. Whether you’re a tech enthusiast, a marine biology lover, or simply someone who loves to tinker, this guide will help you create a device that can explore aquatic frontiers.
What You’ll Discover About Underwater Drones
You’ll learn that these remarkable devices are not just toys but powerful tools for viewing and interacting with an otherwise inaccessible world. With your homemade drone, you could monitor marine life, inspect underwater structures, or simply marvel at the beauty of the underwater landscape.
Tool Checklist: Everything You Need to Start Building
- Waterproof enclosure or materials for custom housing
- Underwater motors and propellers
- Microcontroller (Arduino, Raspberry Pi)
- Waterproof camera/action camera
- Underwater LED lights
- Battery pack suitable for underwater use
- Wires and waterproof connectors
- Soldering iron and solder
- Sealant and waterproofing materials (silicone, epoxy)
- Hand tools (screwdrivers, drills, etc.)
Assembling Your Underwater Drone: A Step-by-Step Breakdown
Creating a Watertight Frame
First things first, your underwater drone needs a home that can withstand the pressure and the elements. You have two paths here: use a pre-made waterproof enclosure or build your own from scratch. If you’re going the DIY route, materials like PVC or acrylic are your best friends—they’re sturdy and have a good track record under pressure.
Choosing the Right Materials
When selecting materials for your drone’s housing, consider the depth you plan to explore. Different materials can handle different amounts of pressure, so this decision is crucial. You’ll also want to think about how you’ll access the inside of your drone for maintenance and upgrades.
Sealing Techniques for Maximum Protection
Once you have your housing, it’s time to make sure it’s as watertight as a submarine. This means using sealants like silicone or epoxy to close up any potential leak points. A good rule of thumb is to seal it, test it, and then seal it again. The last thing you want is water seeping into your electronic sanctuary.
Fitting the Propulsion System
Next up, let’s talk about movement. Your underwater drone will need a reliable propulsion system to navigate the watery depths. This usually means attaching a couple of motors equipped with propellers to the outside of your drone’s housing.
Types of Motors for Underwater Use
Not all motors are created equal, especially when it comes to underwater use. You’ll need something designed to perform in a liquid environment. Brushless motors are a great choice because they’re efficient and less prone to corrosion.
Attaching and Waterproofing Propellers
Mounting your motors securely is one thing, but ensuring they’re waterproof is another. You can use a combination of sealants and specialized motor casings to protect them from water damage. Remember, any vulnerability here can lead to a sunken drone and a sunken heart.
Ensuring Proper Light Placement and Power
When it comes to lighting, it’s not just about strapping a flashlight to your drone and calling it a day. You need lights that can pierce through the murky depths, giving your camera a clear view of what lies below. LED lights are perfect for this—they’re bright, energy-efficient, and have a long lifespan.
Positioning is key. Place your lights so they illuminate the path ahead without causing a glare on the camera lens. Think about how car headlights are arranged; that’s the kind of coverage you’re aiming for. You’ll also want to make sure they’re wired up to your power source without adding too much extra weight.
Don’t forget to waterproof your lighting system as well. Even if your LED lights are marketed as waterproof, it’s a good idea to give them an extra layer of protection. A little bit of silicone sealant around the edges where they attach to the housing can go a long way.
Powering Your Drone
Now, we’ve got to talk power. Without juice, your drone is just a fancy paperweight. You’ll need a battery pack that’s not only powerful enough to run your motors, lights, and camera but also safe to use underwater.
Safe Battery Usage Underwater
Batteries and water typically don’t mix, so you must choose the right type of battery for your drone. Lithium-polymer (LiPo) batteries are a popular choice because they’re compact and hold a lot of power. But they also need to be handled with care—make sure they’re in a waterproof and impact-resistant case to prevent any mishaps.
Securing the battery inside the housing is crucial. It should be fastened down so it doesn’t shift during movement, potentially unbalancing your drone. Use foam or rubber padding to cushion it, reducing the risk of damage from bumps and knocks.
It’s also essential to have a reliable system for monitoring battery levels. Some builders like to include a voltage checker that’s visible through the housing, so they know when it’s time to bring their drone back to the surface.
- Choose a battery pack that’s safe for underwater use and offers enough power for your needs.
- Secure the battery pack inside the housing to prevent it from shifting and causing balance issues.
- Use a voltage checker to monitor battery levels during operation.
Calculating Run Time and Energy Needs
Before you even get your drone wet, you’ll need to do some math. Calculate how much power each component of your drone consumes and compare that to the capacity of your battery. This will give you a rough idea of how long your drone can operate on a single charge.
Remember, the colder the water, the faster the battery will drain. If you’re planning on exploring chilly depths, take that into account. It’s better to overestimate your energy needs than to find yourself with a powerless drone at the bottom of the sea.
- Calculate the power consumption of each component to estimate run time.
- Factor in the temperature of the water, as cold conditions can reduce battery life.
- Always have a margin of safety in your energy calculations to prevent unexpected power loss.
Once you’ve got your drone powered up, it’s time to put it to the test. But before you head to the nearest body of water, there are a few safety checks to run through.

Launching and Testing Your DIY Drone
Pre-Launch Safety Checks
Safety first, always. Before you launch your drone, go through a pre-launch checklist to ensure everything is in working order. This includes checking the integrity of your seals, testing the propulsion system, and making sure your control signals are strong and clear.
Ensuring Seal Integrity
Check every seal on your drone’s housing. Any place where two surfaces come together is a potential leak point, so give these areas extra attention. Submerge the housing in water and look for bubbles—signs that air is escaping and, therefore, water could get in.
System Diagnostics Before the Dive
Run a system diagnostic to make sure all your electronics are functioning as they should. This might include a dry test of the motors and lights and a check of the camera feed. If everything looks good on land, you’re one step closer to an underwater adventure.
Conducting the First Dive
Testing Propulsion and Maneuverability
Start in shallow water where you can easily retrieve your drone if something goes awry. Test each motor individually to ensure they’re responding correctly to your controls. Then, practice maneuvering—forward, backward, left, right, up, down. Get a feel for how your drone moves through the water.
Monitoring Visual Feeds and Data
As you test the waters, literally, keep an eye on your visual feeds. Make sure the camera is capturing clear images and that the lights are functioning as they should. If you’ve included sensors or additional data collection tools, monitor those readings closely.
Once you’re confident in your drone’s abilities, it’s time to think about what you’ll do with it. The possibilities are as vast as the ocean itself.
Unleashing the Explorer: Underwater Drone Missions
With your DIY underwater drone ready to go, the world—or at least the part covered by water—is your oyster. You can embark on all sorts of missions, from scientific research to exploring the nooks and crannies of a coral reef.
Shipwreck Discovery and Underwater Mapping
Imagine the excitement of discovering a sunken ship, its secrets preserved beneath the waves. Your DIY underwater drone can turn this fantasy into reality. Equipped with your drone, you can map out shipwrecks and underwater ruins, providing valuable data to archaeologists and historians. The footage you capture can also help create 3D models of these sites for further study.
Underwater mapping is another fascinating application. By attaching sonar equipment to your drone, you can chart the unseen landscapes of the ocean floor, revealing the contours, depths, and features of underwater terrain. This information is crucial for scientific research, navigation, and even fishing.
Most importantly, while engaging in these activities, always respect the underwater environment. Disturbing a shipwreck or natural habitat can have legal and ethical consequences, so do your research and dive responsibly.
Personal Adventures: Exploring Lakes and Oceans
Building your underwater drone isn’t just about the technical challenge; it’s also about the personal joy of exploration. With your trusty drone, you can explore the depths of your local lake, follow a school of fish along a coral reef, or even search for lost treasure rumored to be hidden beneath the waves.
Maintaining Your Underwater Drone
After each dive, maintenance is key to ensuring your underwater drone remains in top condition. Rinse off any saltwater, check for signs of wear and tear, and make sure no water has breached the housing. Regular maintenance will extend the life of your drone and help prevent malfunctions on future dives.
Post-Dive Care and Storage
“Always clean and dry your drone thoroughly after use. Saltwater can corrode even the toughest materials over time, so don’t skip this step.”
Store your drone in a cool, dry place away from direct sunlight. If you’re not planning to use it for an extended period, remove the battery to prevent any potential leakage or corrosion.
And here’s a little tip: keep a log of all your dives, including any issues you encountered and how you resolved them. This can be an invaluable resource for troubleshooting and improving your drone’s design.
Regular Checkpoints and Component Upgrades
As with any piece of technology, your underwater drone will benefit from regular checkups. Inspect the motors, propellers, and camera for signs of damage. Test the battery life and replace it if it’s not holding a charge as well as it used to.
Because technology is always advancing, keep an eye out for component upgrades that can enhance your drone’s capabilities. Maybe there’s a new camera that can capture clearer images, or a software update that offers better control. Staying up-to-date will keep your underwater adventures exciting and fruitful.
FAQs: Inquiries About Building and Using an Underwater Drone
What are the Best Materials for an Underwater Drone Hull?
For a DIY underwater drone, materials like PVC, acrylic, or ABS plastic are often recommended for the hull. They’re durable, waterproof, and can handle the pressure at moderate depths. For deeper dives, consider using materials designed for high-pressure environments, such as certain types of stainless steel or aluminum alloys.
How Deep Can DIY Underwater Drones Operate?
The depth limit for a DIY underwater drone depends on the materials and construction of the housing, the waterproof integrity of the seals, and the pressure rating of the components used. Some hobbyist drones can reach depths of 100 meters, while more advanced builds might go deeper. Always test your drone in controlled conditions to determine its limits.
Can I Add a Robotic Arm to My Underwater Drone?
Yes, you can add a robotic arm to your underwater drone for tasks like retrieving objects or interacting with the environment. However, this adds complexity to your build, requiring additional motors, controls, and programming. Make sure you account for the added weight and power consumption when designing your drone.
Are There Legal Restrictions on Where I Can Operate My Drone?
There can be legal restrictions on where you can operate an underwater drone, particularly in protected marine areas, near military installations, or in shipping lanes. Always check local regulations before deploying your drone to avoid fines or confiscation.
Furthermore, be mindful of privacy concerns when capturing video or images, and always operate your drone in a way that is respectful to wildlife and the environment.
How Do I Enhance Signal Strength for Deeper Dives?
Enhancing signal strength for deeper dives can be achieved by using a more powerful transmitter, optimizing antenna placement, or incorporating signal boosters. Some drone builders use a tether system with a surface buoy to maintain a strong connection. However, this can limit mobility, so it’s a trade-off to consider based on your specific needs.

